Friday, July 28, 2017

Ring Shots

Weddings are typically a high paced event. However, sometimes you have some free time on your hand because the makeup/hair process is late or let's say the same six people dance on the floor while you are waiting for the end of the party to do the sendoff.
So what do you do with your spare time? You can rest, that is a valid option but frowned upon in some circles. You can take photos of details, signs, food, etc, or you can take photos of the rings.
My specialization is portraits, and that is the main reason for why I get hired, but that said when approaching the rings I wanted to do the best I could, because I didn't want to be limited by what I am naturally good at.
I got this recommendation to put the rings on a mirror, but I couldn't find one and didn't bring one with me. Luckily for me I brought a shiny dress to do this, a dress I used before on an artistic photoshoot because I liked how it looked when using a shallow depth of field in the sun.

I also brought with me a Tamron Macro 90 2.8 lens and a portable light tripod. For the lighting I had an assistant hold  a Westcott IceLight for me. I put the ring on the dress, set the aperture to 8.0 or more and took the photos. It is important to know that you use a much more closed aperture setting that you would use for let's say closeup shots of a face if you want the rings to be in focus. A good tripod definitely would come handy here as you can set your shutter speed to a slow exposure so you wouldn't have to use high ISO for these shots.
I used the same technique to create the couple's save-the-date video using a different more velvety dress to create a more subtle in-camera effect.
The into the light effect is simply done by having my assistant wave the IceLight on top of the objects including the ring.
I decided to use a different backdrop for my last rings photoshoot. My assistant brought her tablet with her and we placed the rings on it. At first i used a black background.

 It kind of looks like a mirror. Then we switched to a white background.


I did like the IceLight reflection on the tablet and decided to use it.


Then we loaded some photos from the client's Facebook page to serve as a background.

It's important the clean the tablet before placing the rings, and also have something to wipe it between background changes because tablets are notorious for attracting fingerprints.
You could probably also use a phone, especially if it has a large screen, and even your laptop, especially if it is as flexible as my HP Envy x360. Potentially you can also do this without a Tripod as long as your hands are stable, your shutter speed is around 1/200, your camera or lens has a good stabilizer and your camera handles high ISO well.


Tuesday, June 27, 2017

Using technology to make different stylistic choice

The A99ii is a very impressive camera, lots of pixels, good ISO and nice AF.
My recent client was really impressed at the photos I was able to pull of a crowd in a corporate lecture, sitting mostly in the dark.
I was using two remote flashes, using my latest favorite style of having a backlight and a side backlight to light people.

The dynamic range of the A99ii allows me to pull of this shots in a dark huge room.
Then again, that is probably the style I would use with the original A99. Sometimes incremental changes can make a good technique in to a terrific technique.
However, current Sony cameras are not just nice cameras, like the A900 was, with nice warm colors and good lenses. They also allow you to do things otherwise almost impossible in other cameras.
The eye auto focus is a good example. While hardly as good an implementation as in the latest e-mount mirrorless cameras, it still allows you to create a unique style of photography that I tried for the first time for this event, but it might be relevant for weddings.
Having good ISO (set to auto) for event photography means I can allow myself to shoot with a fast shutter and an aperture of 4.0-5.6 when shooting groups of people talking. I mostly use the great Zeiss 50mm 1.4  lens for that, knowing I'll get sharp and pleasant photos where people will not look all of a sudden wider if they stand at the edge of the frame as happens with most wider lenses.

This way I don't have to worry about people being out of focus or blurry hands when people talk with their hands or make a sharp movement for any reason.
However, that limits you to a very specific style of photography. I did use this "safe" style for a while and then I got bored with it and decided to experiment with Eye-AF and the aperture set at 1.4. As this lens is phenomenal I knew my photos would still be sharp where focused, especially with the lower ISO.


As you can see this way of shooting goes a long way to create a blurred background in situations where you have to think quickly and still hit the perfect focus. I hope to use this style in an upcoming wedding when I come back from my upcoming vacation.

Sunday, June 18, 2017

Tips for Weddings and other major events

I thought of taking a break from talking about technology and share my a few wedding photography tips from my years of expereience. These tips can also be useful in other events or photography genres.


1. Arrive an hour before the event starts. Yes, you are not getting paid for it, but that doesn't matter in the long run. It's good to have time to plug in your batteries, get a feel of the venue, catch some extra behind the scenes photos. I will probably repeat this but I always try to give my clients some extras. I know that the money doesn't matter as much as repeat clients and clients who will give you good reviews and recommend you to their friends and family.
2. Dress sharply! It makes feel better and on many occasions I shared shirts, jackets and more with my male clients. In general, I try to feel less like a caterer (I know some photographers dress like that) and more like a party guest. I try to be close to my clients and get excited for them on their special day. Also , my last groom forgot to pack his dress shirt, so that definitely saved the day.


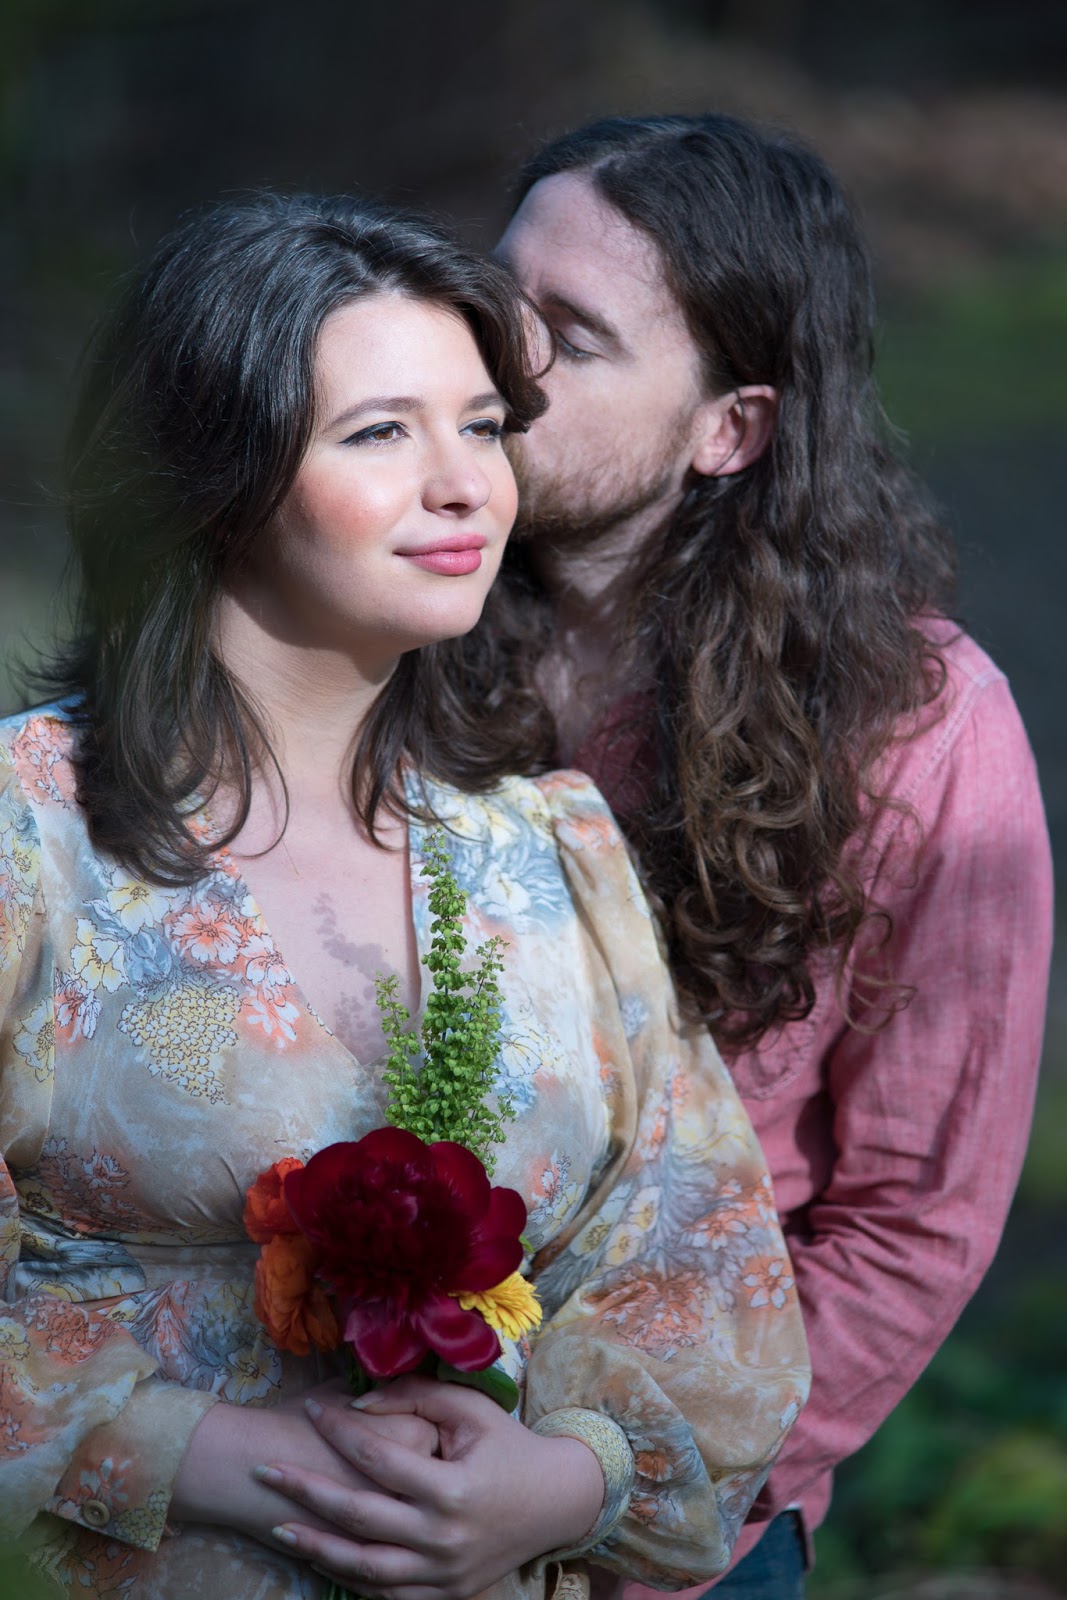
I love this photo of a cute couple and my own jacket :)


3.  Know things about your clients, ask them about their hobbies, what they like to do in their spare time, what is their job, etc. You never know when that will come in handy.
4. Tell your clients to do everything slowly, especially ring exchanges and cutting of cake, but also the walk down the isle. Politicians know this, they pose for ever and ever, shaking hands for a couple of minutes, Your bride and groom will probably not know this and being nervous will probably do things on overdrive unless told in advance.

5. Make sure there's enough time for posed shots, in a nice location. Tell them if they just want to do it in the hotel parking lot, or the ugly park nearby, they might regret it.


6. Never argue with the client. If they want a little more photo manipulation, do it. If they say there are not enough photos of anything, even if it's not your fault, agree and try to fix it as much as you can. Sometimes out of focus photos can be salvaged, photos can be cropped to fit a person and you should definitely get the videographer's info, as you might use a photo-shopped video still of some obscure aunt that you might have missed, to save the day.
7. Photoshop is your friend. As a photographer I do wish all my photos were perfect. However, they are not, especially in group photos, where sometimes a person would blink, look aside or lose an adorable smile. Young children and babies are notorious for doing their own thing while everybody else is obediently smiling at the camera. A lot of the times I combine parts of different photos of the same shot.
8. That said you should always strive to make the group photos better. Always make sure that people are looking at the camera. You would be surprised at how many times, even grownups who know what they are there for will stand there with all their friends and family and just look aside, looking lost at thought. I typically just look at the people before putting my eyes on the viewfinder or LCD and make sure everybody realizes what they should be doing.
9. Even if you are testing some people's patience, try to take most photos at different aperture and exposures if possible. I set my aperture at 4 for most shots, cranking it to 5.6 when I have a group of people. Sure, some shots of a single person, or two people when one is out of focus could look very nice at 2.8 or even 1.4 and the shallow depth of field style has been proven quite popular, but I always try to take backup photos at more closed aperture, because there is nothing more annoying than a good shot that is somewhat out of focus, or a shot of more than one person where someone is out of focus.
10. Have fun! Any job in my mind is not worth doing if you don't enjoy it, if you don't like it. Sure, holding a camera and running around might be stressful, even painful at times. The only way in my mind to justify such a vocation is not only liking the results but also enjoying the process, being with people, talking to people, experiencing emotions together with people you don't know and finding the uniqueness in each person.
11. Talk to your clients about alcohol consumption. It's okay if they want to get hammered on their special day but I would recommend to lay off the booze until after the formals or any other posed photos. It makes it incredibly difficult for people to follow even the simplest instruction when they are intoxicated, especially trying to get a lot of people to stand without casting shadows on each other and looking at a camera. Also, some people, especially men gets flustered and their faces turn purple or red. Some people make faces that are decidedly not photogenic.
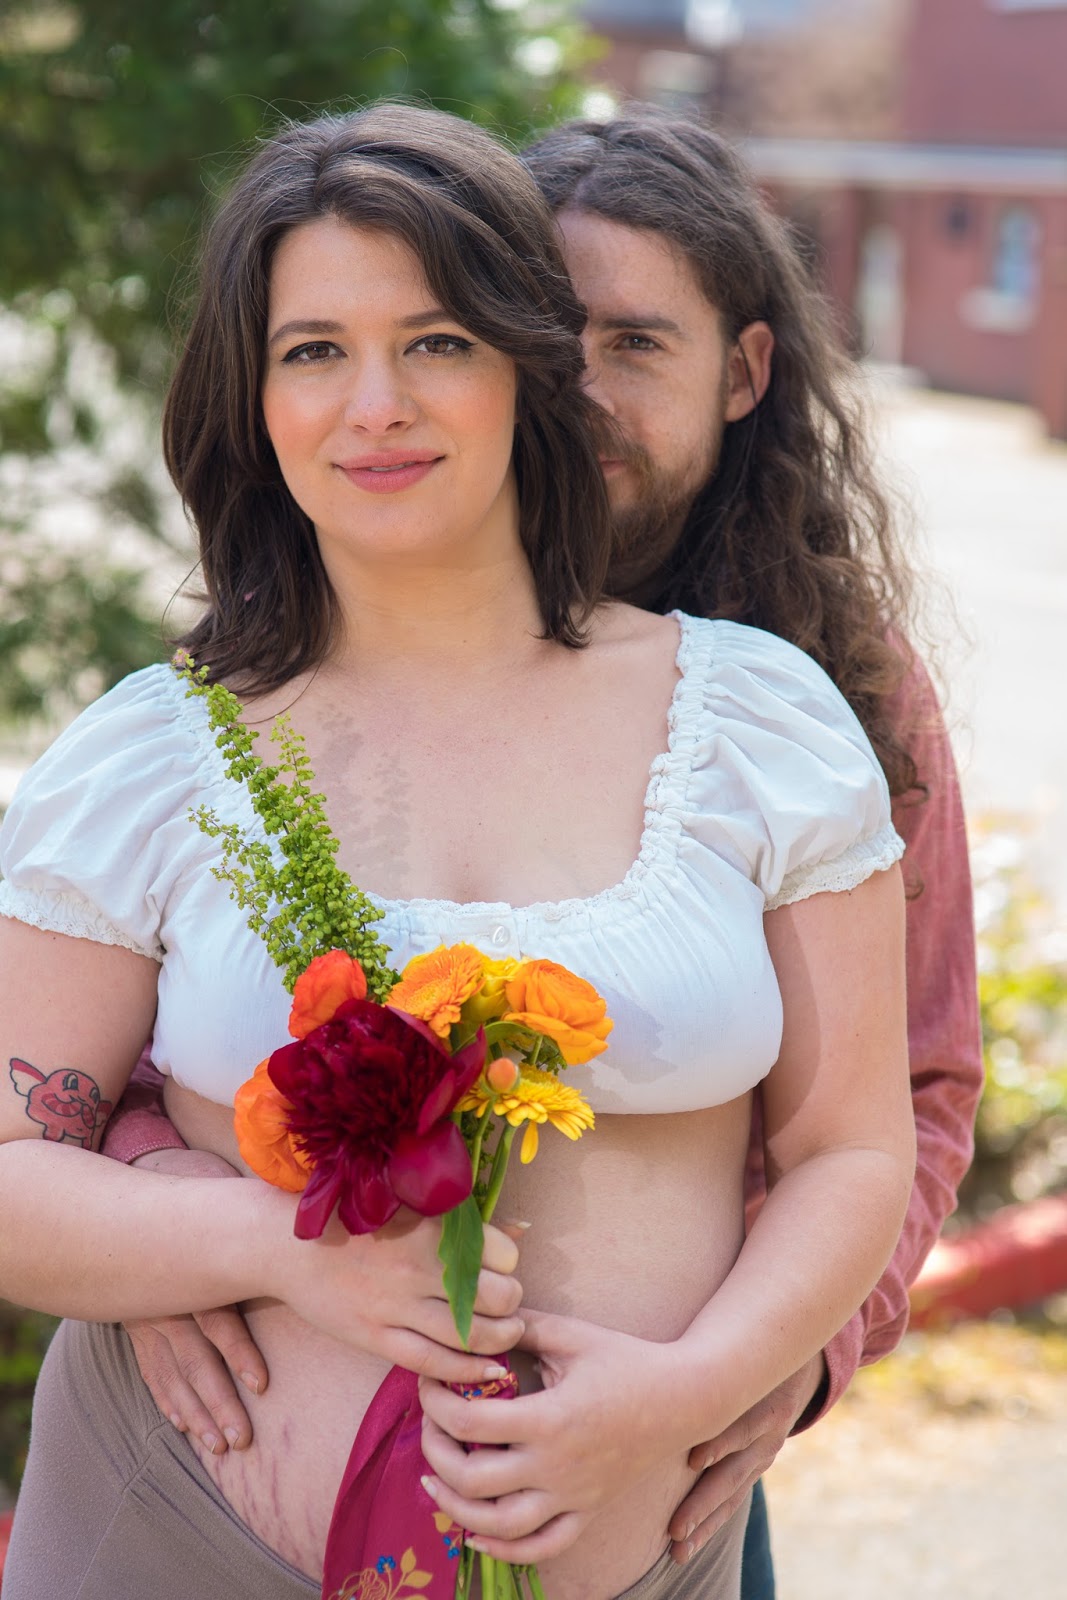
12. Floral arrangements should need be higher than the people when they are sitting. It makes for awkward compositions and messes with any flash photography or any direct light like that of a sun setting down, creating unwanted shadow. While this should definitely be floral arrangement 101, it doesn't hurt to warn the couple about this at your consultation.
13. When you take photos of people with pants, make sure people take their cellphones, wallets, lipsticks and anything else out so you wouldn't have to photoshop it out later on.
14. Ask your clients about the parking situation. It seems like many clients don't think about the amount of cars that would appear in awkward places like behind the ceremony or the send-off. It's not always possible but maybe they could work on limiting where people park.

Friday, May 19, 2017

ISO 6400 is the new ISO 3200

I think by now I've used the A99ii on two events where the low-light capabilities were tested. On the last event, a local election night coverage,  I set it to Auto ISO but soon discovered that all the shots were in ISO 6400, so I set it manually to 6400.  You can set the maximum and minimum ISO like this:

It doesn't go in smaller increments, so over 6400 you get 12800 rather than 8000.

 The good news is that images look really great at ISO6400.
Color is nice, noise is barely noticeable. I did use some flashes this time to supplement the light coming from the window and the venue's brown lights. The lights were set to 1/16 or 1/32 so as to blend well with the ambience.


That said, as soon I went over 6400 ISO, photos were visibly degraded. Color was smudged and brownish. Also, the pixel count does not really matter at that point. I wish the camera would just decrease the number of pixels at that point, to save on disk space.
Due to compression you might not be able to tell but there is just no point for this photo to be 42.4MP. I have to admit that these photos are still usable, even though I might personally not like their quality very much. Sometimes your clients just want a documentation of what's happening.
There are some good news though. The photos would look better in high ISO if the light is between 3200K and 5600K. It will look better if the contrast is good. Also, if you left the high ISO on by mistake, as in the A99 in a lot of cases the photo will NOT be overexposed. The camera will figure out that it has enough light for the pixels and will compensate.


Sunday, May 14, 2017

Good news and Bad news

I had a little more time and real life experience to check the A99ii. The good news: high ISO as expected is much improved. This makes the A99ii in low light and even regular room situation a totally different camera than the A99. For the first time shooting inside a room that I didn't use ANY flashes and put the ISO to auto without worrying.

I also took one photo in real high ISO 16,000 and the results were so so.
The photo looks kind of okay as long as you don't look to closely realizing the woman's face isn't really all there. So I guess that is reasonable. The A99ii is NOT the A7s, but as long as your eyes can see something, the camera will also be able to see it well. That was definitely NOT the case with the first A99. Here is another sample from a church wedding, still no flashes employed, even though I had them with me.
I actually m now using the flashes more for outside shoots than for low-light shoots. The rationale as I mention in previous post is that I want to put my clients in the shade so they will squint less.

Now for some bad news: The inner RAW viewer on the A99ii probably creates a jpeg version of the photo taken that does not represent the final output really well. I wasn't really sure that the photo about of the bride in tears was in focus until I get home and offloaded the photos. Even zooming all in, I wasn't really sure. I guess I could have used Wifi to take a better look, perhaps I will try it next time. I am pretty sure now that I can't rely on the internal viewer, even when zoomed in, to tell me how good the photo would look later on. I do hope Sony will fix that, but I am not holding my breath as the previous A99 model didn't receive any update except for accommodating some lenses.


Wednesday, May 3, 2017

First impressions

On Saturday, I had two photo shoots with the A99ii. The morning one was a maternity photo shoot with this nice couple I know. We drove out to Lewis and Clark, a very nice campus surrounded by trees. It is actually even too large for someone who doesn't know it very well. On the other hand it is totally free and allowed to shoot there unlike most places in Portland, including some public parks tat require you to have a permit and insurance or pay an entrance fee on some days.
I knew I wouldn't see all the benefits during a daytime photoshoot where the A99 would probably be more than enough. The menu system on the A99ii is quite overwhelming, not that much better than the A99's but with more options, so more wondering around. The good news: You can utilize the custom buttons for the things you need. I programmed the one in front of the camera to eye-AF and the back lower one to "Live View Display", a vunery important option to me, to be able to switch between seeing what the camera sees or a brighter higher ISO display that makes it easier to focus manually in dark situations or see the objects when using flashes to light a scene. I did not end up changing that option until my second gig that day.
So the A99 was kind of a slow camera in a lot of situations. You could do a burst but it was both very loud and slow to clear to the card. Even though the files are larger, they seem to clear faster to the card. That is a double edged sword as you might end up with more photos than you would actually want, having to go through them, store them and more.
Other than that it didn't feel like a new camera. I did have to decide how to light the couple expecting the baby, and I tried a few things. In a few shots I let the sun light their faces.


 As you can see the photo works as the sun is filtered a little bit by the tress, but the pregnant woman is squinting.
Other shots, the scene was back lit by the sun and ambient light lit their face.


I also used a reflector in some shots, especially when it was just the woman.
 As you can see she also squints in that one, even though I did try the trick of having eyes closed, counting down and then opening the eyes.
For the final couple shot I put them in the shade and used my Yungnuo YN560IV flash hooked to the Godox external PB8205 battery to light their faces. The flash had a softener and Chinese lantern on it to make the light as soft as possible while still using full capacity.
You can see that even though the light was softened since flash is pretty close compared to the sun, there is some easily fixable shadows on his face and on her chest.. That said, her eyes in this photo are wide open or at least as much as is possible when standing in bright day light.
I guess instead of geeking out my new expensive camera, I geeked out on lighting, always the better choice. That said, in future events, the A99ii will let me use existing lighting to light a scene, perhaps with just a little help from LEDs or flashes.
The night job I had that day was working a photo booth at a prom. Not a very exciting job, but it's good to get into the high school market any way you can. For the first time I was supposed to use the HDMI to show the photos to the kids whose photos i was taking, on a large screen. Unfortunately, the A99ii as well as other Sony still camera use a totally different HDMI connector than other pro cameras . So I ended up not using the screen and showing the photos on my LCD screen the old way. Zooming through the photos is much easier and more responsive on the A99ii, so that's a real plus in these types of situations. Ordered a cheap converter on e-bay for future use.
 The other photographer manning a similar photo booth with a Nikon pro camera was using OVF for taking all the photos reminding me how different the Sony brand is. I looked at the at my LCD and so had better more direct contact with my subjects.
Coming up, an evening party at a school, using probably low light photography with available light and an afternoon Independence day party, so tune in for more blog posts.


Tuesday, April 25, 2017

Got the A99ii

Hoorah!
The A99ii got here two days before deadline from The PIXEL Connection in Chicago.
The box was surprisingly small which I liked. No more boxes that are too large!

Immediately selected the front button as Eye AF :)
Two things I already wish Sony would have fixed from previous model: USB-3.0 support also meaning support for higher speed SD cards, like the A9 does, and video modes.
I can't believe that after all this time, the mark ii sill uses the video mode to select M mode for video. This was a real annoyance on the jobs where I took both stills and video and often forgot to switch to video mode then realized it, stopped the recording and switched to video mode, creating unnecessary small video files and wasting time. Why not just press the record button and use whatever settings the regular dial is using for stills? Too easy? Not distracting enough from your work? To switch from stills M mode to the same M mode in video I have to take my eye off the eye piece and look at the top of the camera to make sure I get the dial to the right location. That is really uncomfortable when doing documentary work.
Something else that is still weird. Looking at a photo I took at ISO4000 in camera, shows a LOT of noise, and higher ISOs even more so. That noise disappears when you look at it on my laptop. Does Sony cleanup some of the noise, or does the internal viewer reads the files wrong? Wish I had answers. That said, I am impressed in how the ISO 4000 version looks on the PC as useable  as the ISO 12800 one. I don't want to upload the test photos, but will have three gigs on Saturday to test the camera in different settings.

Friday, April 14, 2017

Update

Yes, it's been a while since I posted. I was kind of busy moving to the US, where I now live in Portland, OR.
I moved from relying on the Zeiss 50mm 1.4 to using the Sigma 85 1.4 and the Minolta 200mm 2.8 more and more as I like look that they give me. I only revert to the (rather expensive) 50mm when taking photos in receptions where I "pose" people together. Even then when I have room I will use the Sigma 85 1.4 because I like the look and I can stand away from people and disturb their conversations.

I still use remote radio flashes to operate my Yongnou flashes. As you can see in the above photo the flash is far away from the people and not mounted on my camera. This makes for pleasing soft shadows and kind of looks as if the light is coming from a window. I was actually using a cheap LED light for back light on this one because one of my flashes was acting up.
 I am starting to add external batteries from Godox that use Lithium-ion batteries instead the AA batteries that I have grown to hate. I did get a cheap AA battery run external battery but it was so awful I returned it. It didn't even tell me when the batteries were dead. Godox's prices are coming down and if I had a time machine I'd probably buy Godox flashes as well.
Had some issues with my camera, problems with auto-focusing and some dirt on the sensor I couldn't get rid of. Luckily, Sony sent their technician here to one of the local stores for a special promotional day and I got my camera and Sony/Minolta lenses cleaned for free after biking there and waiting in the rain. Was so worth it!
Oh and some "small" news - I just ordered a brand new A99mk2 for my birthday! I seriously like the A99 but truth be told, even with fast lenses, I still feel like I need to rely too much on flash photography. Sometimes you come into a room and the lighting is great, even if there is not a lot of it. I could try to recreate the same atmosphere with my flashes, but why bother if you have a good sensor? In that sense the A99 was seriously behind comparable cameras such as the Canon 5Dmk3, pretty old now but still does pretty well in high ISO with relatively little noise.  Sure, the A99mk2 will not shoot in absolute dark like the A7s but it will definitely provide me with more artistic options and functional solutions for when my flashes run out of juice, overheat or get broken.
I want to thank my parents for helping my finance this important purchase and my friend Ori Cohen for helping me to choose where to buy from.
My A99mk2 should arrive by the end of the month from Amazon Canada. I hope to post more often and tell you what my experience with it is like.
 Also, my Instagram is now more active showcasing my work so feel free to follow me @zinmanamit